
Understanding the Basics of Soap Making
- drewdacres
- May 21, 2025
- 4 min read

Soap making is a rewarding hobby that combines art and science. Crafting your own soaps allows you to customize textures, fragrances, and even colors. This guide is designed to help you understand the basics of soap making, perfect for newcomers eager to dive in.
The Art of Soap Making
Soap making is both a creative and practical skill. By understanding the fundamental processes, you can create unique bars tailored to personal tastes or specific needs. From selecting the right ingredients to the final curing process, each step is crucial to producing a high-quality product.
You can choose various methods for making soap, most notably cold process, hot process, or melt and pour. Each method has its advantages and can be suited to specific preferences. For instance, cold process soap making allows for richer, more complex scents and designs, while melt and pour is beginner-friendly, requiring less equipment.
The joy of soap making is that it allows for endless creativity. You can experiment with different scents, textures, and shapes. But before diving into crafting your custom soaps, it is essential to grasp the fundamental components involved.

Key Considerations in Soap Making
When starting your soap making journey, several aspects warrant attention. One primary consideration is safety, particularly when handling caustic materials like lye. Always use protective gear, including gloves and goggles, to prevent any accidents.
Another essential factor is choosing high-quality oils and additives. Many artisans prefer using natural products like essential oils and botanical extracts, ensuring the final product is not only aesthetically pleasing but also gentle on the skin.
Consider your target audience, too. If you plan to sell your soaps, think about any dietary restrictions or allergies your customers might have. This foresight will help you create a product people can enjoy without worry.

What are the Ingredients for Making Bar Soap?
The crucial elements in bar soap include fats or oils, lye (sodium hydroxide), and water. These components undergo a chemical reaction called saponification, which is central to the soap-making process.
Fats and Oils
The choice of fats affects the soap's hardness, lather quality, and moisturizing properties. Common oils include:
Olive oil: Excellent for moisturizing.
Coconut oil: Contributes to bubbly lather.
Palm oil: Provides stability and hardness.
Each oil has unique properties, and mixing them often yields the best results.
Lye
Lye is a critical ingredient in traditional soap making, and it must be handled with caution. It reacts with the oils to create soap and glycerin. When using lye, ensure you follow precise measurements and safety protocols.
Water
Water helps dissolve the lye, making it easier to incorporate into the oils. Distilled or purified water is recommended to avoid any reactions with impurities.
When exploring the ingredients for your soap bars, understanding the roles each component plays will empower you to create high-quality products tailored to your needs. To learn more about soap bar ingredients, you can visit this link.
Step-by-Step Soap Making Process
Creating your soap can seem overwhelming initially, but following a structured process makes it manageable. Here's a simplified step-by-step guide.
1. Gather Your Supplies
Before you start, make sure you have all necessary materials, including:
Ingredients (oils, lye, water)
Mixing equipment (bowls, spoons, scales)
Safety gear (gloves, goggles)
Molds for shaping your soap
2. Measure Ingredients
Carefully measure your ingredients. Precision is vital, especially when working with lye. Use a digital scale for accuracy.
3. Prepare the Lye Solution
In a well-ventilated area, slowly add lye to water (never the reverse). Stir until dissolved, and let it cool. This step can generate heat and fumes, so proceed with caution.
4. Combine Oils
Gently heat your chosen oils until they are fully melted and thoroughly mixed. Allow them to cool to a safe temperature.
5. Mix Lye and Oils
Once both the lye solution and oils have cooled to appropriate temperatures, slowly add the lye solution to the oils. Mix using a stick blender until "trace" is achieved. This means the mixture has thickened and leaves a trace when drizzled over itself.
6. Add Fragrance and Color
Now is the time to mix in any desired fragrances or colors. Mix well to ensure even distribution.
7. Pour into Molds
Carefully pour the soap mixture into molds. Use spatulas to scrape every bit from the bowl. Cover the molds and insulate them to retain heat during the saponification process.
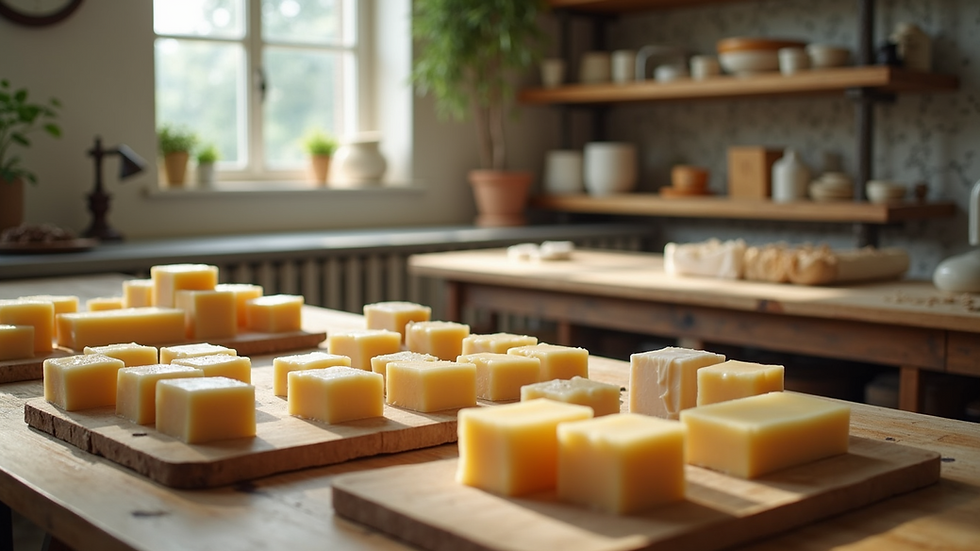
8. Curing
After 24-48 hours, remove the soap from molds, cut it into bars, and set it aside for curing. Proper curing can take 4-6 weeks for saponification to complete and for the soap to harden.
Troubleshooting Common Soap Making Problems
Even with careful preparation, you may encounter issues while soap making. Here are a few common problems and solutions to help you overcome them.
1. Soap Fails to Trace
If the soap mixture does not thicken as expected, it may be due to low temperatures or insufficient blending. Ensure both the lye solution and oils are at the correct temperature, and mix thoroughly.
2. Seizing
Soap may seize if the temperatures are too high or certain fragrances are used. If you notice your mixture thickening too quickly, pour it into molds immediately to prevent further hardening.
3. Unattractive Appearance
If the surface of your soap has uneven textures or does not look appealing, it may be due to overheating or not mixing properly. Be sure to monitor temperatures closely and mix thoroughly.
4. Unpleasant Odor
A strong lye smell can occur if the soap has not fully saponified. Make sure to allow sufficient curing time. Over time, natural odors will fade, replaced by your added fragrances.
Mastering the soap-making process takes practice, and it won’t come without a few hitches. However, solving these issues will help you become a more skilled artisan.
Final Thoughts on Soap Making
Soap making is not just a craft; it’s a science, an art, and a wonderful way to express creativity. With some patience, experimentation, and respect for safety protocols, you can create beautiful and functional soaps.
Consider documenting your soap-making process, experimenting with diverse recipes, and sharing your results with friends or family. Soap making can build lasting connections, sharing unique styles and scents that everyone will appreciate.
So, gather your supplies, roll up your sleeves, and start crafting your perfect bar of soap today!


Comments