
Unveiling the Art of Artisan Soap Making
- drewdacres
- Dec 5, 2025
- 4 min read

Soap has been a staple in human hygiene for centuries, but the rise of handcrafted soaps has brought a new level of artistry and care to this everyday essential. Crafting handmade soaps is more than just mixing ingredients; it is a creative process that combines natural elements, traditional techniques, and personal touches to produce unique, skin-friendly products. This blog post explores the fascinating world of artisan soap making, offering insights, tips, and practical advice for those interested in this rewarding craft.
The Beauty of Crafting Handmade Soaps
Handmade soaps stand out because of their quality and individuality. Unlike mass-produced soaps, which often contain synthetic chemicals and harsh detergents, handmade soaps use natural oils, butters, and botanicals. This results in a gentler, more nourishing product that benefits the skin.
Why Choose Handmade Soaps?
Natural Ingredients: Handmade soaps typically use ingredients like olive oil, coconut oil, shea butter, and essential oils.
Customization: You can tailor scents, colors, and textures to your preference.
Eco-Friendly: Many artisans use sustainable, biodegradable ingredients and minimal packaging.
Skin Benefits: Glycerin, a natural byproduct of soap making, remains in handmade soaps, helping to moisturize the skin.
Basic Ingredients in Handmade Soap
Oils and Butters: Olive oil, coconut oil, palm oil, shea butter, cocoa butter.
Lye (Sodium Hydroxide): Essential for saponification, the chemical reaction that turns oils into soap.
Water: Used to dissolve the lye.
Additives: Herbs, clays, exfoliants, essential oils, and natural colorants.

Essential Steps in Crafting Handmade Soaps
Creating handmade soap involves a series of precise steps. Each phase requires attention to detail to ensure the final product is safe, effective, and beautiful.
Step 1: Preparing the Lye Solution
Safety is paramount when working with lye. Always wear gloves and goggles, and work in a well-ventilated area. Slowly add lye to water (never the other way around) and stir until dissolved. The solution will heat up and should be left to cool.
Step 2: Melting and Mixing Oils
Measure and melt your oils and butters. Once melted, allow them to cool to a temperature similar to the lye solution (usually between 95°F and 105°F).
Step 3: Combining Lye and Oils
Slowly pour the lye solution into the oils while stirring continuously. Use a stick blender to mix until the mixture reaches "trace" - a pudding-like consistency indicating saponification has begun.
Step 4: Adding Fragrances and Additives
At trace, add essential oils, colorants, or exfoliants. Stir gently to incorporate evenly.
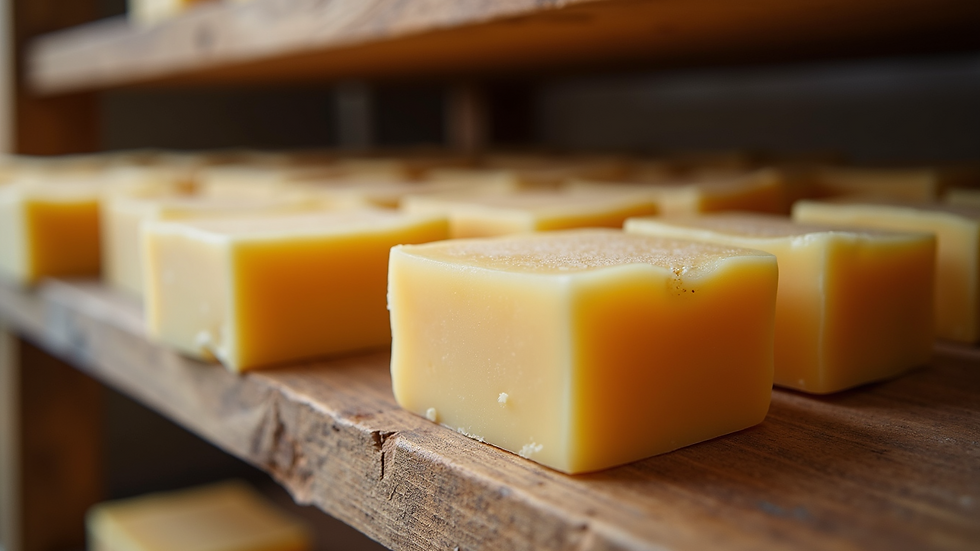
Step 5: Pouring and Curing
Pour the soap batter into molds and cover with a towel to retain heat. After 24-48 hours, unmold and cut the soap into bars. Cure the bars in a dry, ventilated area for 4-6 weeks to allow excess water to evaporate and the soap to harden.
How Long Does Artisan Soap Last?
The shelf life of handmade soap depends on its ingredients and storage conditions. Typically, artisan soaps last between 1 to 2 years if stored properly.
Factors Affecting Soap Longevity
Oils Used: Soaps with high amounts of unsaturated oils (like olive oil) tend to last longer.
Additives: Natural additives like herbs or milk can reduce shelf life.
Storage: Keep soaps in a cool, dry place away from direct sunlight and moisture.
Tips to Extend Soap Life
Store soap bars in breathable containers like wooden boxes or paper wraps.
Avoid plastic bags that trap moisture.
Use soap dishes that drain water to keep bars dry between uses.
Tips for Beginners in Soap Making
Starting with soap making can be intimidating, but with the right approach, it becomes an enjoyable and creative hobby.
Start Simple
Use basic recipes with a few oils.
Avoid complex additives until you master the basics.
Safety First
Always handle lye with care.
Use protective gear and work in a safe environment.
Experiment Gradually
Try different essential oils for fragrance.
Add natural colorants like turmeric or spirulina.
Test small batches before scaling up.
Keep Records
Note down recipes, temperatures, and observations.
This helps replicate successful batches and learn from mistakes.
The Joy of Personalizing Your Soap Creations
One of the most rewarding aspects of handmade soap is the ability to personalize each batch. Whether for personal use, gifts, or small business ventures, customization adds value and uniqueness.
Creative Ideas for Personalization
Scents: Blend essential oils like lavender, peppermint, or citrus.
Textures: Add oatmeal, coffee grounds, or poppy seeds for exfoliation.
Shapes and Designs: Use molds of various shapes or create swirls and layers.
Labels and Packaging: Design eco-friendly packaging that reflects your style.
Benefits of Personalization
Tailor soaps to specific skin types or preferences.
Create themed gift sets for holidays or special occasions.
Build a brand identity if selling your soaps.
For those interested in exploring this craft further, artisan soap making offers a wealth of resources and inspiration to help you master the art.
Embracing the Craft: Your Next Steps
Crafting handmade soaps is a fulfilling journey that combines creativity, science, and care. Whether you want to make soaps for yourself or start a small business, the skills you develop will bring satisfaction and joy.
Gather quality ingredients and tools.
Follow safety guidelines meticulously.
Practice patience during the curing process.
Experiment with scents, colors, and textures.
Share your creations with friends and family.
By embracing the art of crafting handmade soaps, you contribute to a tradition that values quality, sustainability, and personal expression. Start your soap-making adventure today and discover the beauty of creating something truly unique and beneficial.
Happy soap crafting!


Comments